For the lid, you will need the template or (4) pieces 4 1/2" X 3 3/8".

Score 1/2" from the right (short)side and from the bottom.


Trim above the bottom score line on the right.


The top center will need marked at 2 1/8".

Draw a line from the top score mark on the left to the top center, and the right side to the center
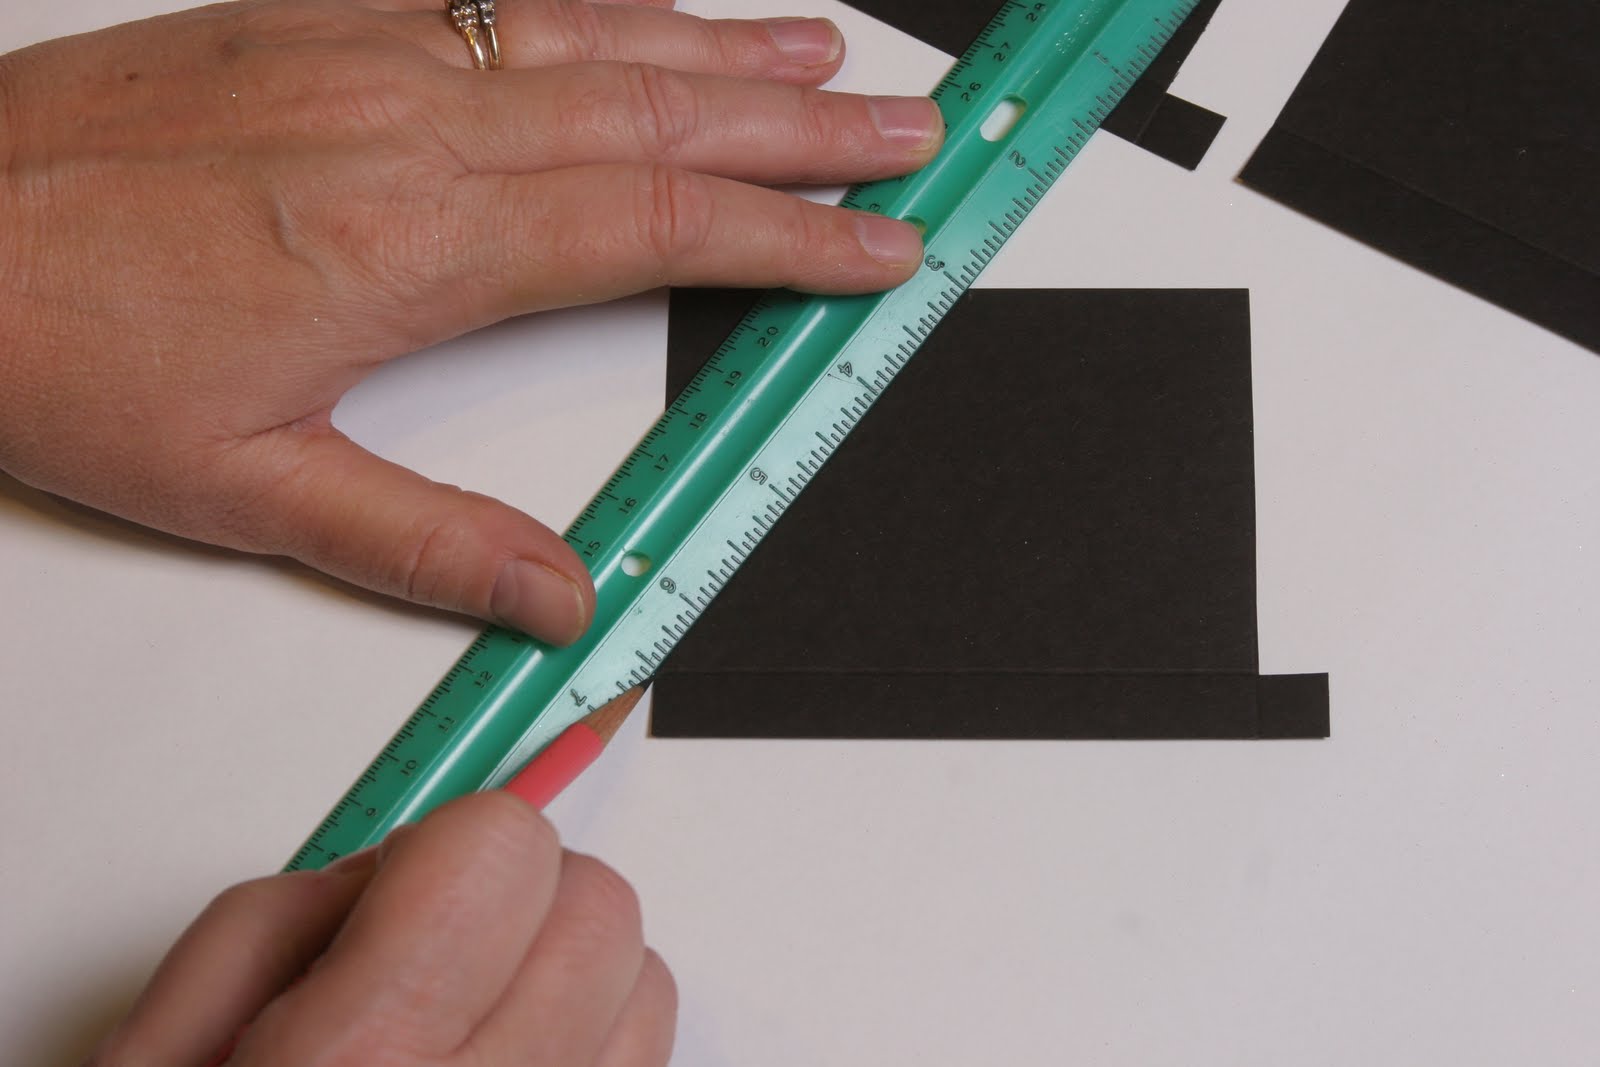

Score the line on the right. Mark 1/2" away from this score line and cut.


Adhere the long flap first, the the bottom flap until you have the lid complete.


Take (2) 8 1/2" X 3/4" pieces of glitter paper and punch the edges, then score and fold at 4" and 8". Adhere to the bottom of the lid, overlapping the ends.


Add a bow around the post.


Embellish the top as you choose, or see my poinsettia tutorial, which should be posted within a week!

Add a battery powered tealight, put the lid on the top, and enjoy!


1 comment:
Debb, it is beyond me how much time and effort you put into this PERFECT tutorial! What a wonderful job. After the family is gone this weekend, I'll do one and post it. It looks like you covered every detail. Thank you for all the hard work doing this. I can't wait to try this.
Shirley
Post a Comment